
How to configure email on your iPhone.
To configure your email account on the iPhone, please kindly follow the guide below:
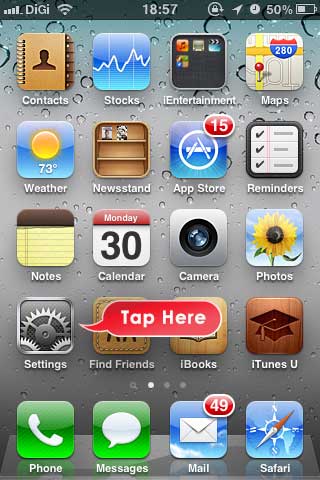
1. Locate and tap the Settings icon on your iPhone.
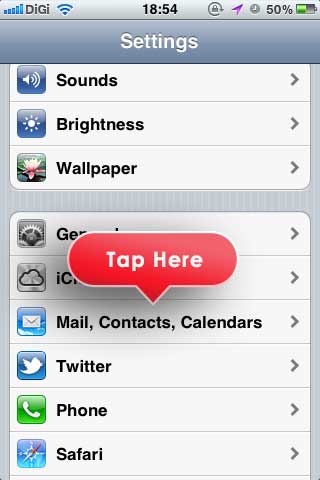
2. Tap the the Mail, Contacts, Calendars
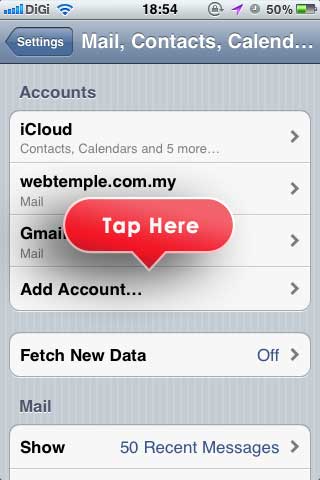
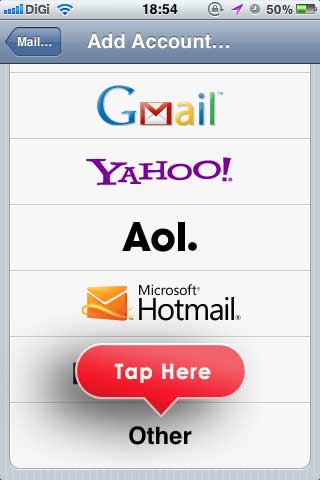
3. Tap on the Add Account.
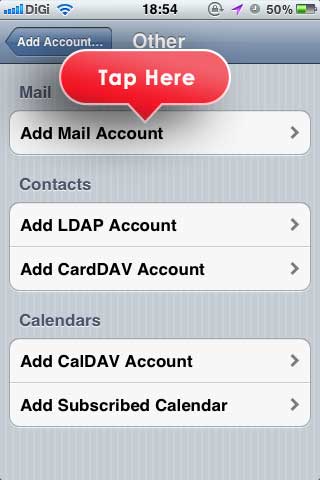
4. Tap Other.
5. Tap Add Mail Account.
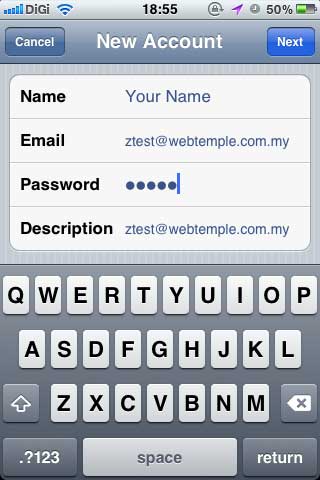
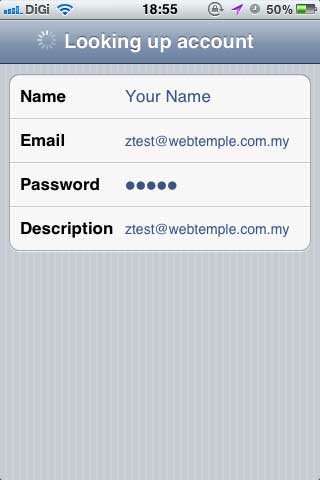
6. Please enter your email configuration information here. Should you need any assistance, please contact us via [email protected] or chat with our support personnel (when they’re online), please click here for Live Help.
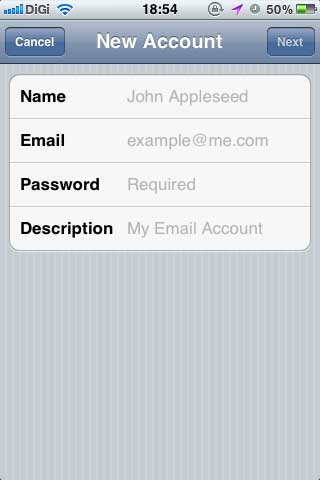
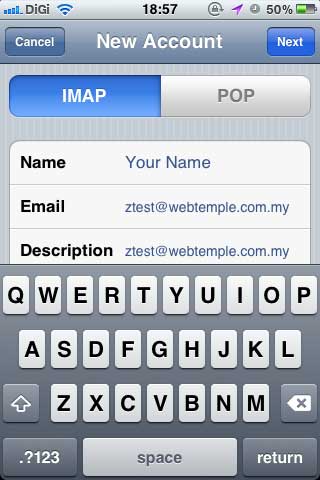
6.1 After entered the account information, Tap Next
7. The iOS will now be verifying the information you”ve entered.
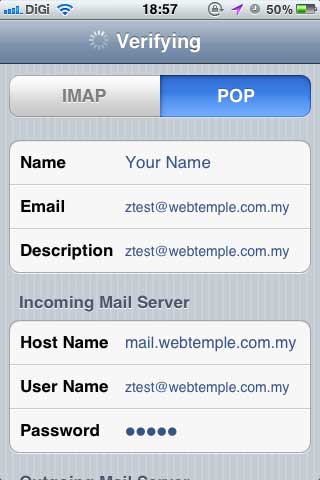
8. You may choose either IMAP or POP as your option of preference.
8.1 Both option (IMAP or POP) uses the same email configuration similar to below. Both Incoming Mail Server (POP3) and Outgoing Mail Server (SMTP) Host Name will always be “mail.yourdomain.com” (“mail.” followed by your domain name. without the quote).
8.2 Username will be your full email address while password will be the password. Then Tap Save to save the configuration.
8.3 Please Do Not use the default password given to you during the time of email account creation, unless otherwise instructed by your authorized in-house IT personnel.
9. The email account has been added successfully.
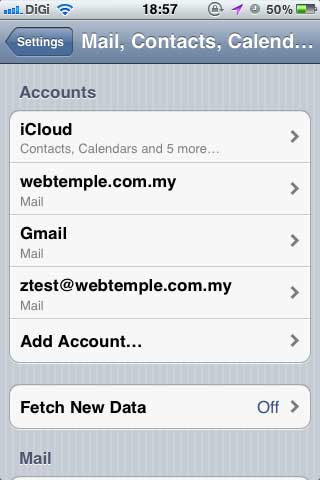
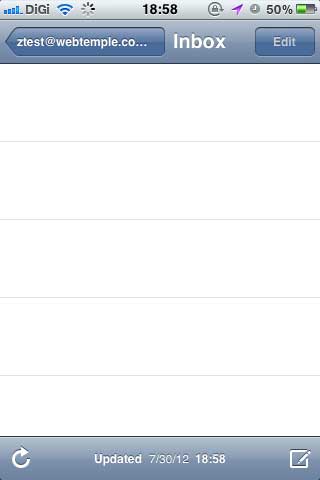
10. A successful test should be something like the picture below:
At the end of the tutorial, should you need further assistance or clarification, please contact us via [email protected] or chat with our support personnel (when they’re online), please click here for Live Help.
Share On:
1. Click and run Outlook 2007. 2. On top of Outlook 2007 main window, click Tools menu, then Account Settings.
11 September 2012
To configure your email account on the iPad, please kindly follow the guide
26 January 2013
To configure your email account on the iPhone, please kindly follow the guide.
26 January 2013